
Assets & Risk
Proof of Reserves Explained: What It Proves, What It Doesn't, and How to Verify Your Balance
Proof of reserves shows whether an exchange held enough of a coin at one snapshot to cover what it owes users, and whether your account was counted. Learn to read the ratio, what zk-SNARKs add, and how to check your own Binance balance.
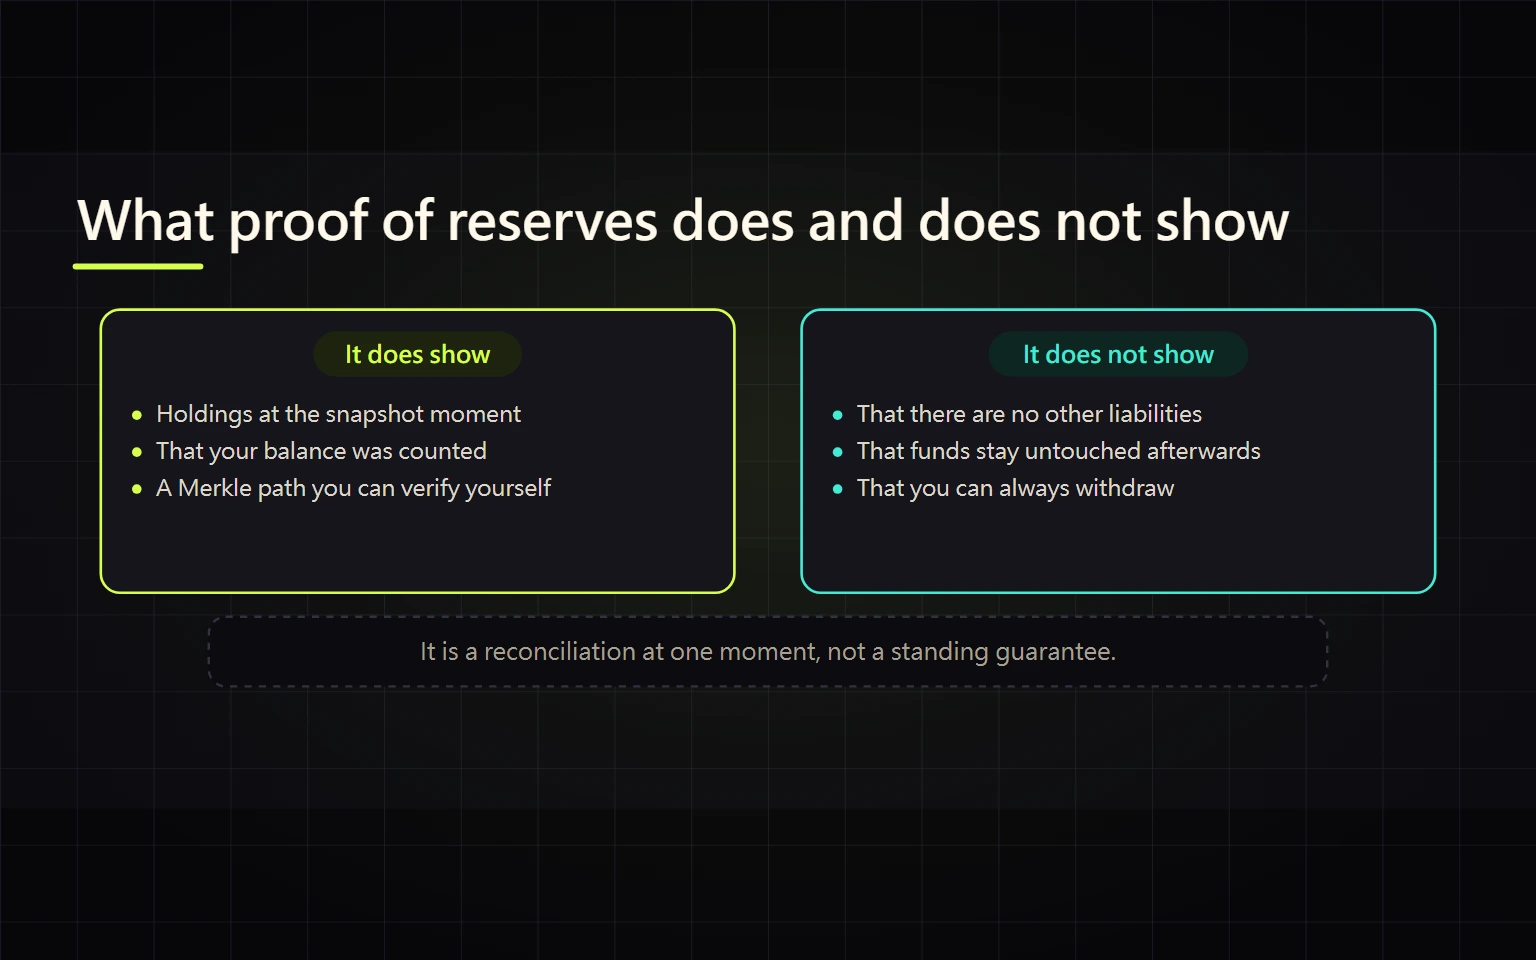
Proof of Reserves (PoR) answers a narrow question: at one snapshot moment, did the exchange hold enough of a given coin to cover what its books say it owes users in that coin — and was your account counted in that total?
The questions it does not answer matter just as much: whether assets moved after the snapshot, whether the exchange has other debts off those books, and whether you can withdraw right now. Treat PoR as a dated statement, not insurance or a live guarantee, and the rest follows.
A proof of reserves has two halves
Assets: the exchange shows wallet addresses or on-chain balances it controls — "this is how much we hold."
Liabilities: the exchange builds a Merkle tree from every user's balance at the snapshot and publishes the root hash. Each user gets their own leaf and the path to the root, so they can recompute it and confirm that their balance is inside the tree and that the tree adds up to the published total.
You need both. In his 2022 write-up on exchange solvency proofs, Ethereum co-founder Vitalik Buterin points out that a liabilities proof on its own says nothing about assets — an exchange could hold nothing and the liabilities proof would still check out. The reverse also fails: wallet balances without published liabilities do not tell you whether the coins are enough.
How to read a reserve ratio
Exchanges usually publish a ratio per coin:
Reserve ratio = coins the exchange holds ÷ users' net balance of that coin
Teaching example (hypothetical numbers, only to show the arithmetic): users hold a combined net balance of 10,000 BTC at the snapshot and the exchange's wallets hold 10,300 BTC. The ratio is 10,300 ÷ 10,000 = 103%.
Three things to keep in mind:
- Read the coin you hold, not the headline total. A USD-converted total above 100% does not mean every coin is above 100%.
- "Net" means after borrowing. For users with margin or loans, what gets counted is equity after debt, so a number you see in your account may not be the number that was counted.
- It is a snapshot. The ratio describes that moment only.
What the zk-SNARK version adds
A plain Merkle tree has a gap: the exchange can insert a few fake accounts with negative balances to shrink the total, and an ordinary user who only sees their own leaf cannot tell.
Binance currently layers a zk-SNARK (a zero-knowledge proof) on top of the Merkle tree. Its published circuit design document lists what the circuit enforces, including: each user's collateral must cover their debt, each coin's equity and collateral must be consistent, and the sums of all users' equity, debt, and collateral must match the totals the exchange publishes. The same document describes the "dummy user attack" it is designed to block — using fake equity in low-cap coins to offset debt in high-cap coins, quietly swapping liquid reserves for illiquid ones.
So the zk-SNARK strengthens the liabilities side. Whether the assets are real, and whether there are liabilities off the books, is still outside what it proves.
Example: checking that your Binance account was counted
The steps below follow the Binance Support article "How to Verify Your Account Balance on Binance?" (marked as updated on 2026-08-05 when checked for this guide). Menu names can change by app version and region; go by what your screen shows.
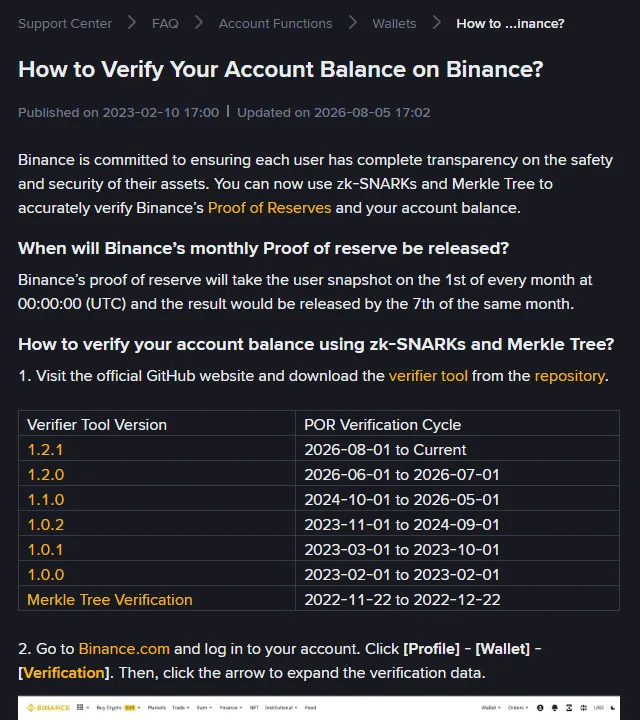
Snapshot timing: user balances are captured on the 1st of every month at 00:00:00 UTC, and results are released by the 7th of that month.
-
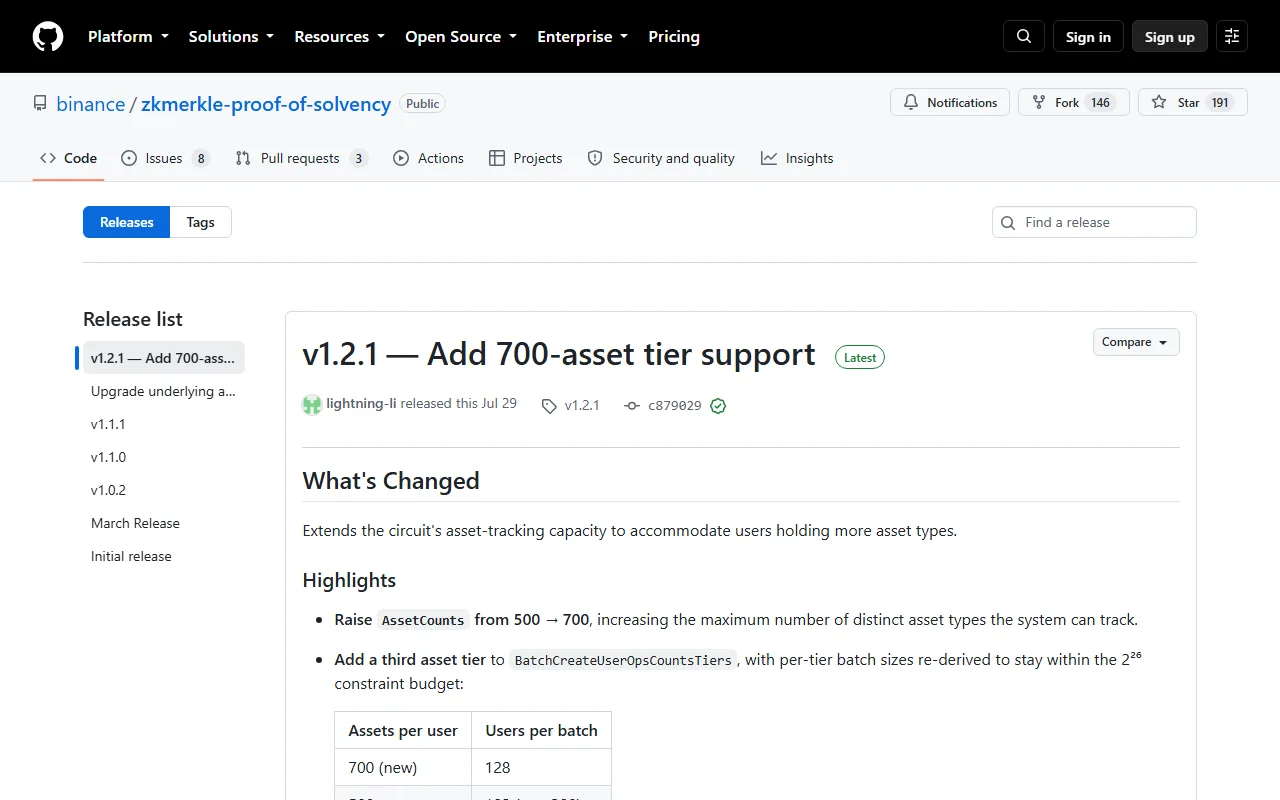
Download the verifier version that matches the cycle. The tool lives on the Releases page of Binance's zkmerkle-proof-of-solvency repository. The table above matters: cycles from 2026-08-01 onward use 1.2.1, while 2026-06-01 to 2026-07-01 uses 1.2.0. If you run an old version against a new snapshot, a failure says nothing about your funds. Download only from the official repository, never a "verifier" sent in a group or direct message.
-
Find your verification data. Log in and go to Profile → Wallet → Verification, then expand the verification data. Look for the entry whose Verification Type is "Merkle Tree + Zksnarks" and click Download Merkle Tree.
-
Verify the root. As the official article describes, place
config.json,proof.csv, andzkpor864.vk.savein the tool'sconfigfolder, then run the program for your system:verifier_windows_amd64.exe,verifier_darwin_amd64(macOS), orverifier_linux_amd64. This confirms the published total is consistent with the whole tree. -
Verify your own account. Put
user_config.json— generated for your account at the snapshot — in the sameconfigfolder and run the same program with the-userflag. This confirms your leaf is in the tree.
In Windows PowerShell, type it as .\verifier_windows_amd64.exe -user.
What "done" looks like
- Both commands complete without an error.
- The balances in your
user_config.jsonmatch what you recorded for the snapshot moment.
The second check needs a unit conversion. According to the official article, most asset balances in the file are expressed in units of 10^8 (a few tokens use 10^2), and total equity, debt, and collateral use 10^16. Teaching example: a BTC field showing 50000000 divided by 10^8 is 0.5 BTC.
If the numbers don't match, check in this order
- Are you comparing against today's balance? The snapshot is the 1st of the month at 00:00 UTC; trades, deposits, and withdrawals since then are not in it. The official article itself says the report is not a real-time view of assets. The number you see on screen and the number you can actually use can also differ — see why your USD portfolio value is not your withdrawable balance.
- Does the tool version match the snapshot cycle? Recheck the table.
- Which account or product holds the asset? Spot, Funding, Earn, and futures margin are recorded separately, and loans reduce net equity. Work out where the funds actually sit with Spot, Funding, and Binance Wallet explained. Which products are included is determined by Binance's own documentation.
- Still inconsistent: keep the original downloaded files and a screenshot of the output, and open a case through the support entry on the official website with the snapshot date, the coin, your recorded figure, and the figure in the file. The verification files contain your account identifier — do not post them in public groups or hand them to anyone who messages you first offering to "check your assets."
Risks a proof of reserves does not remove
Some structural limits worth remembering:
- It is one moment. Assets can be borrowed in before a snapshot and returned after it.
- Showing coins in a wallet does not show that nobody else has a claim on them. They could be pledged or lent out.
- Off-book liabilities are invisible. The proof covers liabilities recorded in user accounts, not the company's other borrowing or operating debts.
- It only works if users check. The Vitalik article cited above notes that if an exchange is confident certain account holders will never verify, there is room to cheat — which is why each individual check has value.
In practice: use proof of reserves as one filter when choosing where to hold funds, and verify your own account after each monthly release. It is not deposit insurance and does not guarantee you can withdraw at any time. For coins you plan to hold long term and do not need to trade, holding your own keys is another option; before moving them out, check the network, the address, and send a small test first — the steps are in how to withdraw crypto from Binance.